
Last updated November 20, 2026
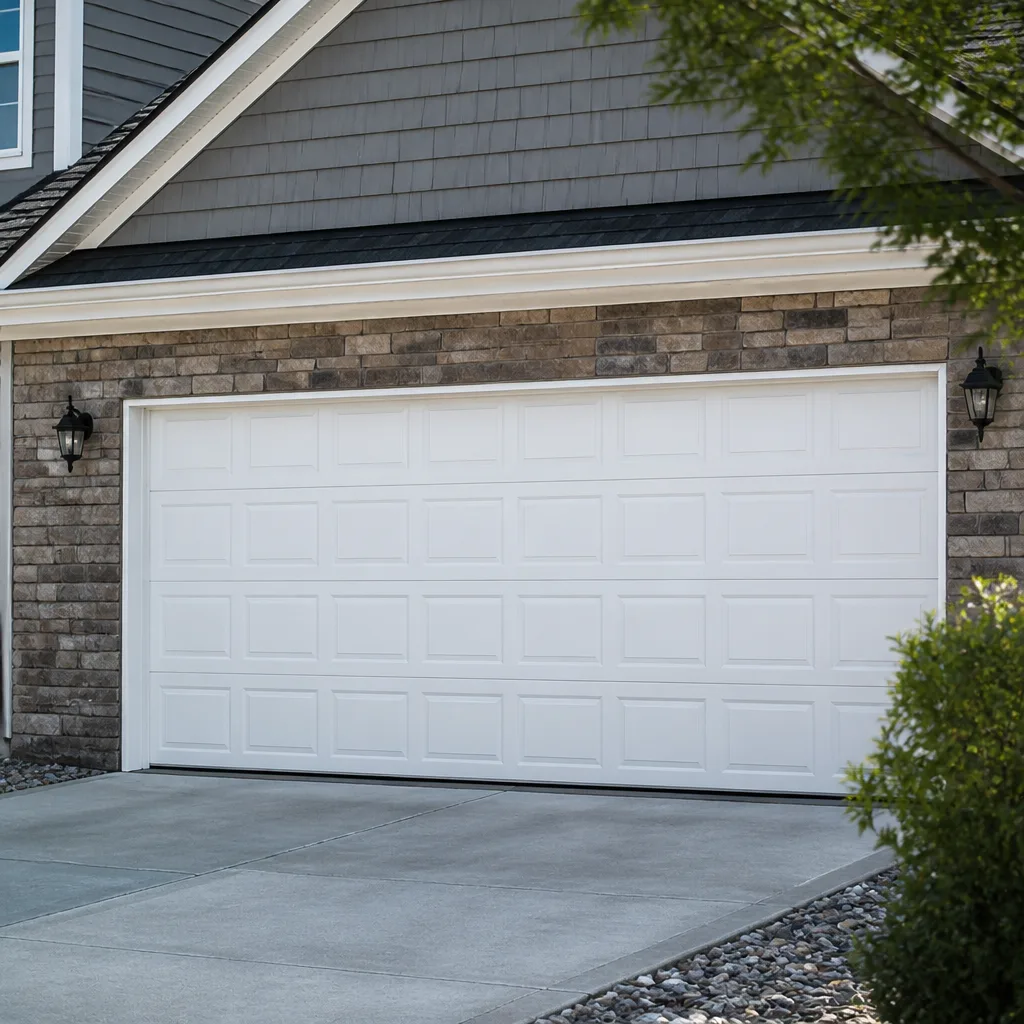 Raised-panel steel
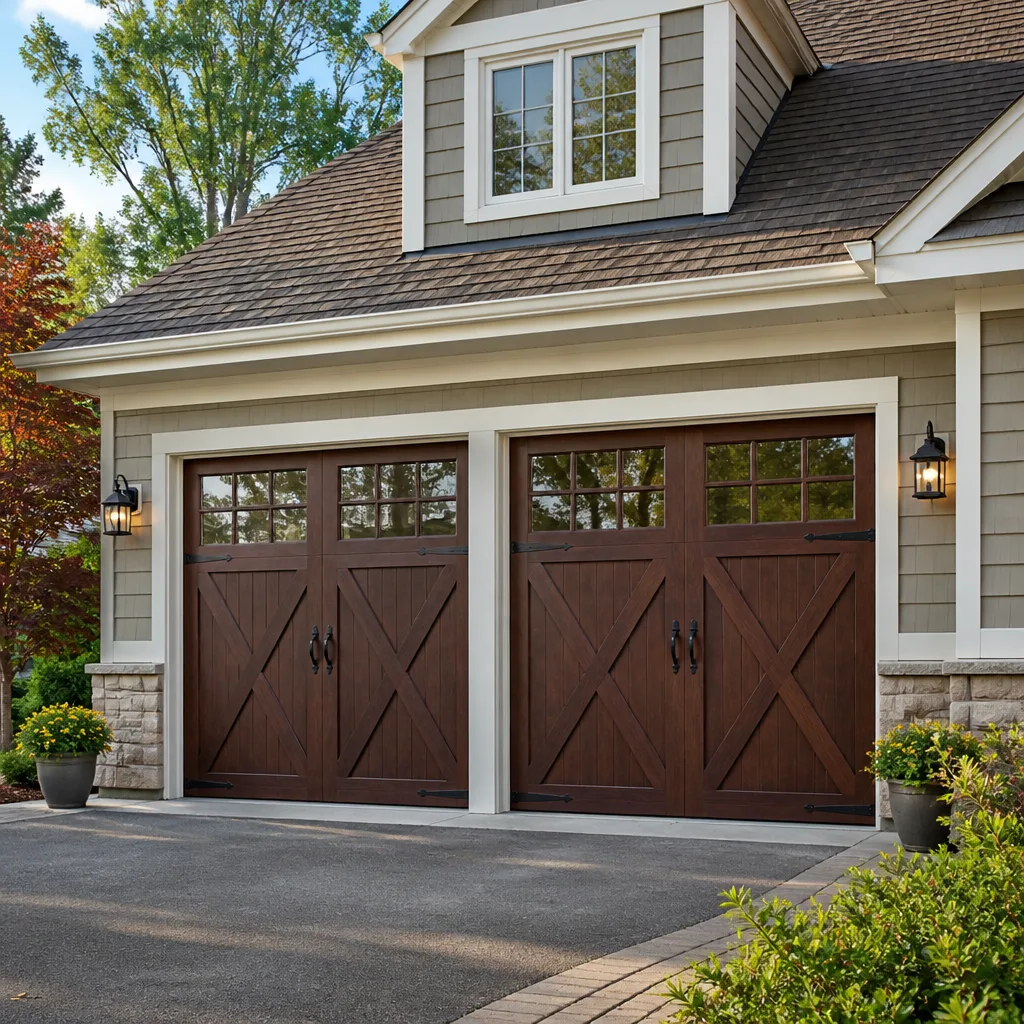 Carriage house
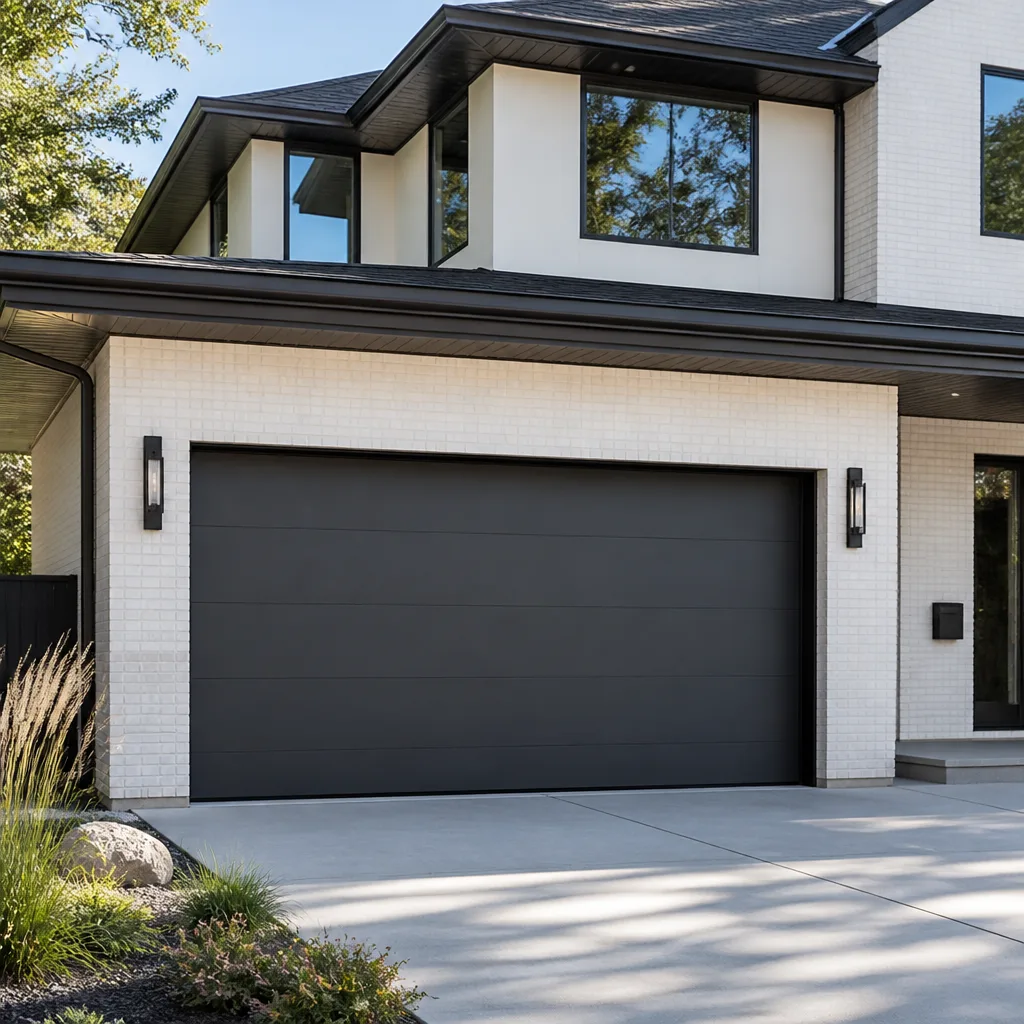 Modern flush
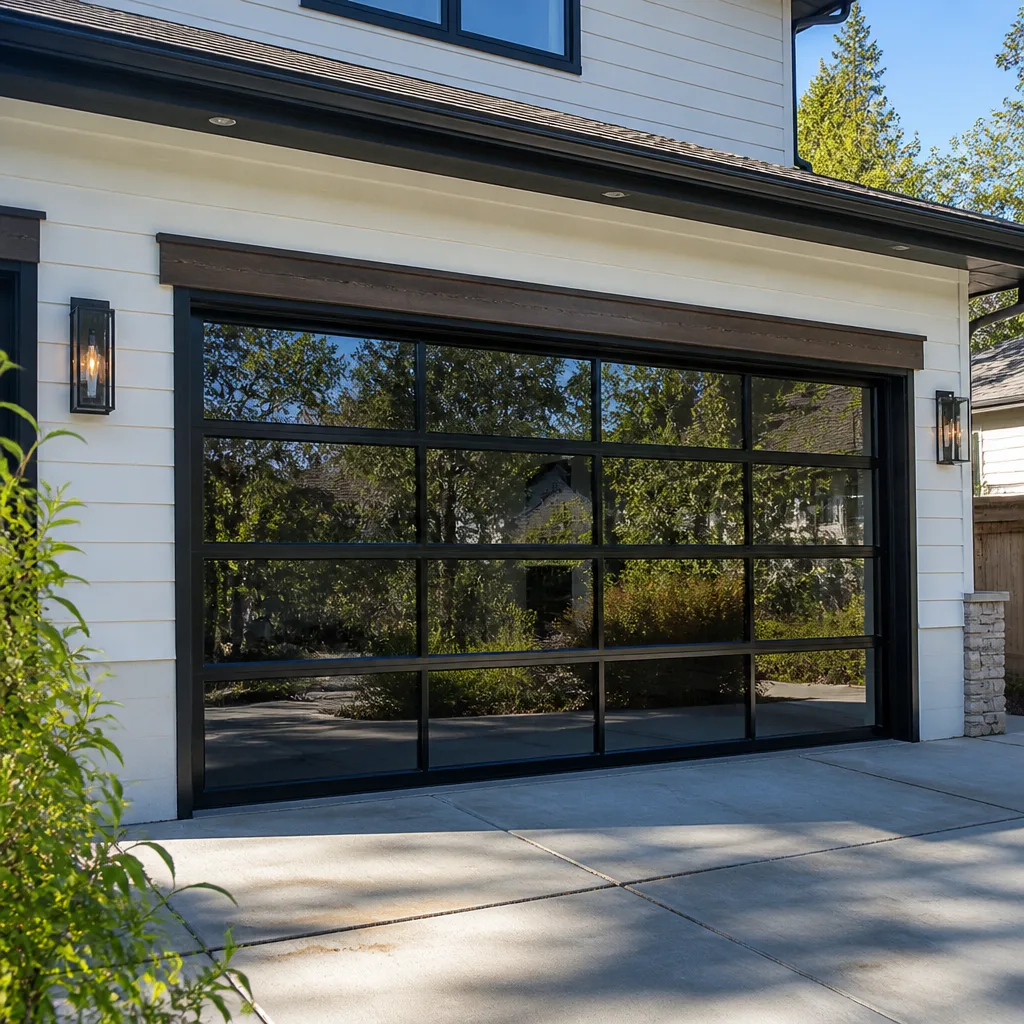 Full-view glass
 LiftMaster openers
 Chamberlain openers
Full 25-point door and opener safety check with every visit - springs, cables, rollers, tracks, and your LiftMaster or Chamberlain opener included
You get a price before we start. It does not change when the pro arrives.
Get your free estimateGarage Door Repair Maintenance Checklist for Elizabeth Homeowners
Most spring failures we see in Elizabeth don’t start with age. They start with skipped lubrication that lets summer humidity work its way into the coils, where corrosion eats from the inside before you ever see a rust spot. That’s a hard idea for most homeowners to accept, because the door still opens fine right up until it doesn’t. This guide treats maintenance as fault-finding rather than a chore list: a sequence of checks ordered by how often each one actually causes a breakdown, a breakdown of which lubricants belong on galvanized versus standard steel springs in a humid climate, and a balance test you can run without going anywhere near the springs themselves. By the end you’ll know what to inspect, what to leave alone, and when a small problem in Elizabeth is telling you a bigger repair is coming.
Quick Answer
A garage door maintenance checklist for an Elizabeth homeowner should cover ten checks in order of failure frequency: springs and cables, rollers, hinges, tracks, weather seal, balance, opener force and travel limits, safety reversal, fasteners, and lubrication. Run a visual pass monthly, a full hands-on inspection every season, and schedule professional service based on door cycles rather than the calendar. The tasks you can safely do yourself are cleaning, lubricating, tightening and testing. Spring tension, cable replacement and opener force calibration belong to a trained technician.
Styles & brands we work with
- Raised-panel steel
- Carriage house
- Modern flush
- Full-view glass
- LiftMaster openers
- Chamberlain openers
Table of Contents
- Why springs fail early in Elizabeth humidity
- The 10-point inspection, ordered by failure frequency
- Which lubricants to use and avoid on your springs
- How to test balance and tension without touching the springs
- Which maintenance tasks can void an installer’s warranty
- Service intervals based on door cycles, not months
- Opener safety and reversal checks you can run today
- Common mistakes to avoid
- When to call a professional
Why Springs Fail Early in Elizabeth Humidity
Torsion and extension springs are steel under constant load, and steel under load in a damp environment corrodes faster than anywhere else on the door. An Elizabeth summer puts weeks of high humidity against that metal, and the parts of a spring you can see are the parts protected by paint or oil from the factory. The inside of the coil is where moisture settles and stays. When corrosion pits the wire, it creates a stress riser, and a stress riser is where a spring breaks. Not in the middle of a cold snap, not after twenty years, but at the point where the metal got thin enough to give.
This is why lubrication isn’t cosmetic. A proper coat of the right lubricant on a spring displaces moisture and slows that process. Skip it for a few seasons and the door keeps working, so nothing prompts you to think about it, until the day the spring lets go. In our experience, spring work is one of the most frequently mishandled garage door jobs precisely because the failure is invisible until the moment it happens.
Elizabeth’s housing stock adds its own wrinkles. Older homes with detached or semi-detached garages often have the original door hardware, sometimes with extension springs running above the door on their own tracks. Newer construction in the same neighborhoods tends to use torsion springs on a center shaft. The two systems need different maintenance attention, and the aging hardware on some of the older doors around town is a genuine reason to look at the springs and cables more often than the manual suggests. If you’re already hearing a bang or seeing a gap in the spring, that door isn’t waiting for maintenance, and garage door spring repair is the call to make first.
The 10-Point Inspection, Ordered by Failure Frequency
The order here matters. Most published checklists are alphabetical or follow a diagram of the door, which buries the checks that actually catch failures. This sequence puts the highest-frequency problems first, so if you only have five minutes, you’ve still covered the ones most likely to strand you.
- Springs. Look for a visible gap in the coil, a stretched or sagging spring, or a torsion spring that’s lost tension. Never touch or attempt to adjust a spring under load.
- Cables. Check for fraying, kinks, or a cable that’s come off its drum. A cable under tension can cause serious injury, so inspect with your eyes and hands off.
- Rollers. Worn steel rollers develop flat spots and rumble. Nylon rollers crack at the stem. Rollers are one of the cheapest, most overlooked causes of a noisy door.
- Hinges. Look for loose screws, bent leaves, or rust at the pivot points. A hinge that’s pulling out of the door panel is a panel-replacement risk if you ignore it.
- Tracks. Run a hand along the inside edge and feel for dents or debris. Tracks should be parallel and plumb. A track knocked out of alignment by a car bumper is a common reason a door binds halfway up.
- Weather seal. The bottom rubber and the side and top seals keep out rain, drafts and pests. Cracked or torn seals let water reach the door and the hardware behind it.
- Balance. Disconnect the opener and lift the door halfway. It should stay put. If it drops or rises, the springs aren’t doing their share.
- Opener force and travel limits. The door should reverse without excessive force and stop at the correct open and closed positions. This is a settings check, not a hardware fix.
- Safety reversal. The photo-eye and the pressure reversal both need to work. Test them monthly.
- Fasteners. Walk the whole door and check every bolt and screw on the hinges, brackets and track mounts. Loose hardware rattles, then fails.
Doing this once a month takes about ten minutes and catches the majority of problems while they’re still cheap. For anything the sequence flags in the first two positions, stop and call rather than continuing down the list. A door with a suspected spring or cable problem isn’t safe to operate while you finish the inspection. Our garage door repair team runs this same sequence on every service call, because the check that finds the problem is the one that saves the homeowner a second visit.
Which Lubricants to Use and Avoid on Your Springs
The right lubricant for a garage door spring is a silicone-based or lithium grease designed for metal-to-metal contact, applied in a thin coat. The wrong ones are anything that attracts dirt or leaves a sticky film, because grit and dust bond to the residue and turn into a grinding paste inside the coils. In a humid climate like Elizabeth’s, the lubricant also needs to displace water, not trap it.
Use these:
- Silicone spray lubricant for springs, hinges and roller stems. It dries clean and doesn’t hold dirt.
- White lithium grease for the torsion shaft bearings, the hinge pivots and the track curves where metal meets metal under load. Apply sparingly.
- Dry PTFE or graphite spray for the opener rail and the roller tracks. It leaves a dry film that won’t collect grit.
Avoid these:
- WD-40 and general-purpose penetrating oils. They’re solvents, not long-term lubricants, and they wash away the factory protection on a spring rather than replenishing it.
- Motor oil and household grease. Too thick, too sticky, and they collect everything the door passes through.
- Spray-on products on galvanized springs. Galvanized steel has a zinc coating that some products can attack over time. A silicone spray formulated for metal is the safe choice; avoid anything acidic or solvent-heavy.
On standard steel springs, the goal is a light, even coat along the visible coil, not a dripping wet one. Wipe off any excess. On galvanized springs, use less and reapply more often, because the coating itself is the primary protection. Never spray lubricant on the track’s interior surface, where the rollers ride; that surface needs to stay clean and dry or the rollers will slide instead of roll. This is one of the maintenance jobs most homeowners get backwards, and it’s a big part of why a door that was quiet last year is noisy this year. If your opener is the piece that’s acting up rather than the door hardware, garage door opener repair is a separate job from door lubrication.
How to Test Balance and Tension Without Touching the Springs
You can tell whether your springs are carrying their share of the door’s weight without ever getting near them. The balance test is a safe, hands-off diagnostic that tells you whether the door is working with the springs or fighting them, and it’s the single most useful check a homeowner can run.
- Close the door completely.
- Pull the emergency release cord to disconnect the opener from the door. On most openers it hangs from the rail.
- Lift the door by hand to about waist height and let go.
- A balanced door stays where you left it. A door that sags to the floor has weak or broken springs. A door that rises on its own has springs that are too tight.
- Lower the door, reconnect the opener by moving the carriage until it clicks back into the release, and test the opener once.
That’s the whole test. You learn everything you need to know about the springs’ health without ever turning a winding bar. What you must not do is try to adjust the spring tension yourself. Torsion springs are under extreme load, and the winding process is one of the most dangerous jobs in residential repair. Even a door that’s slightly out of balance should be adjusted by a technician, because the adjustment requires releasing and re-setting the spring. The same goes for the cables: if one looks loose or off its drum, stop and call. Our technicians have up to 12 years of experience with these systems, and we treat spring and cable work as core service, not a specialty referral.
There’s a second, simpler tension clue. Lift the door about a foot off the floor by hand and let it settle. A door that feels extremely heavy to the point you’re straining means the springs aren’t supporting it. If it’s that heavy, don’t keep lifting. Put it down and call. For a full walkthrough of what a professional spring service involves, see garage door spring repair.
Which Maintenance Tasks Can Void an Installer’s Warranty
Most garage door manufacturers write their warranty around what the door was designed to do, and certain homeowner repairs step outside that. The common warranty pitfalls are not about lubrication or cleaning. They’re about parts substitution, adjustment, and installation done by someone other than a qualified technician.
What can put a warranty at risk:
- Replacing a spring with the wrong size or wire gauge. Springs are matched to door weight. An undersized or oversized spring changes the load the whole system carries.
- Adjusting torsion spring tension yourself. Beyond the safety risk, most manufacturers won’t cover damage caused by improper adjustment.
- Cutting or modifying the track or door panels to fit a new opener or a changed opening.
- Replacing wheels, hinges or rollers with mismatched parts that change how the door runs on its track.
- Adding any opener component not listed as compatible with the manufacturer’s drive system.
- Painting or coating springs or hardware in a way the manufacturer didn’t specify, particularly on coated or galvanized springs.
What’s almost always safe to do yourself: cleaning the tracks, lubricating the specified points, tightening loose bolts, replacing the bottom weather seal, and testing the safety reversal. Those are routine tasks any manufacturer expects a homeowner to handle. Before you replace any hardware on a door from Clopay, Amarr, Wayne Dalton, or any other major brand, it’s worth checking the owner’s manual for the part numbers and weights the manufacturer specifies. If the manual isn’t handy, the model number stamped on the door’s end stile or opener’s head unit is enough for us to pull the right specification. Our brand-agnostic approach means the recommendation follows what your door actually needs, not what we happen to stock.
Service Intervals Based on Door Cycles, Not Months
Calendar-based maintenance is a rough approximation. A door cycle is one full open-to-close movement, and it’s the real measure of wear. A household that leaves and returns twice a day puts about 1,500 cycles on its door each year. A household where two drivers come and go on different schedules, plus kids, deliveries and errands, can easily hit 3,000 or more. The same door on the same street can need service at very different times.
As a practical schedule:
- Under 2,000 cycles a year: a professional inspection every 18 to 24 months. Monthly visual checks and seasonal lubrication.
- 2,000 to 4,000 cycles a year: a professional inspection annually. Lubrication every three to four months, and rollers replaced when they show wear.
- Over 4,000 cycles a year, or any door on a commercial or multi-unit property: a professional inspection twice a year. That’s a typical starting point for a property manager running several units, where one bad spring on a shared garage is a problem for every tenant.
Two seasonal triggers matter in Elizabeth specifically. Before the first cold snap, run a full check, because cold stiffens lubricants and shrinks seals, and a door that barely passes in October is a door that fails in January. After a long, humid summer, look at the springs and hinges for surface rust, which is your early warning that moisture has gotten into the metal. The cycle count plus those two seasonal touch points will catch nearly every problem before it becomes an emergency call. Elizabeth’s older garage doors and the newer installations around town both follow the same logic, even if the parts look different.
Opener Safety and Reversal Checks You Can Run Today
The two safety features on any opener are the photo-eye and the pressure reversal, and both can be tested in under five minutes. Neither test puts you near the springs, and both are worth running monthly, especially in a household with children or pets.
- Photo-eye test. With the door open, wave an object across the beam between the two sensors at the bottom of the tracks. The door should refuse to close, or reverse if it’s already closing.
- Pressure reversal test. Place a 2×4 flat on the ground under the door and close it. The door should reverse on contact.
- Force setting check. The door should reverse with light pressure. If it pushes down hard before reversing, the force setting is too high and needs adjusting.
- Sensor alignment. Both indicator lights on the photo-eye sensors should be on and steady. A blinking light means misalignment, which is one of the most common reasons a door won’t close.
- Wall control test. Open and close the door with the wall button, then the remote. Both should work without hesitation.
If the door fails any of these, don’t keep operating it. A door that won’t reverse on the 2×4 is a door that could injure someone, and the fix is almost always an adjustment to the opener settings rather than a new opener. Opener settings differ by brand, and the manual for a Craftsman or LiftMaster unit will have the exact procedure for its force and travel limits. When the adjustment doesn’t take, the opener itself may be the issue. Our garage door opener repair team services LiftMaster, Chamberlain, Genie and the other major brands, so there’s no referral dance no matter what’s on your ceiling.
Common Mistakes to Avoid
- Greasing the inside of the track. The rollers need to roll, not slide, and grease makes them slide. Keep the track’s interior clean and dry, and lubricate the roller stems instead.
- Using WD-40 as the only lubricant. It’s a penetrant that evaporates and leaves the spring drier than before. Use a product designed for long-term metal protection.
- Adjusting torsion springs without the right tools or training. This is the check that should always result in a call, never a project. The injury risk is real and the wrong adjustment can strip the spring or damage the door.
- Treating a noisy door as normal. A rattle is loose hardware, a scrape is a track issue, and a grinding sound is a bearing. Each one points to a specific fix, and ignoring it lets a small part take a larger one with it.
- Running the door with a broken spring. The opener is now lifting the entire weight of the door. That wears the opener’s gears and motor much faster and often turns a single spring repair into an opener replacement.
- Skipping the monthly safety reversal test. The test takes two minutes and catches the kind of failure that hurts people. It’s the single most important item on the entire checklist.
- Replacing the weather seal with a seal that’s too thin. Elizabeth’s wet winters and humid summers will find the gap, and water on the door and floor is the start of a rust problem. Match the seal thickness to the gap under the door.
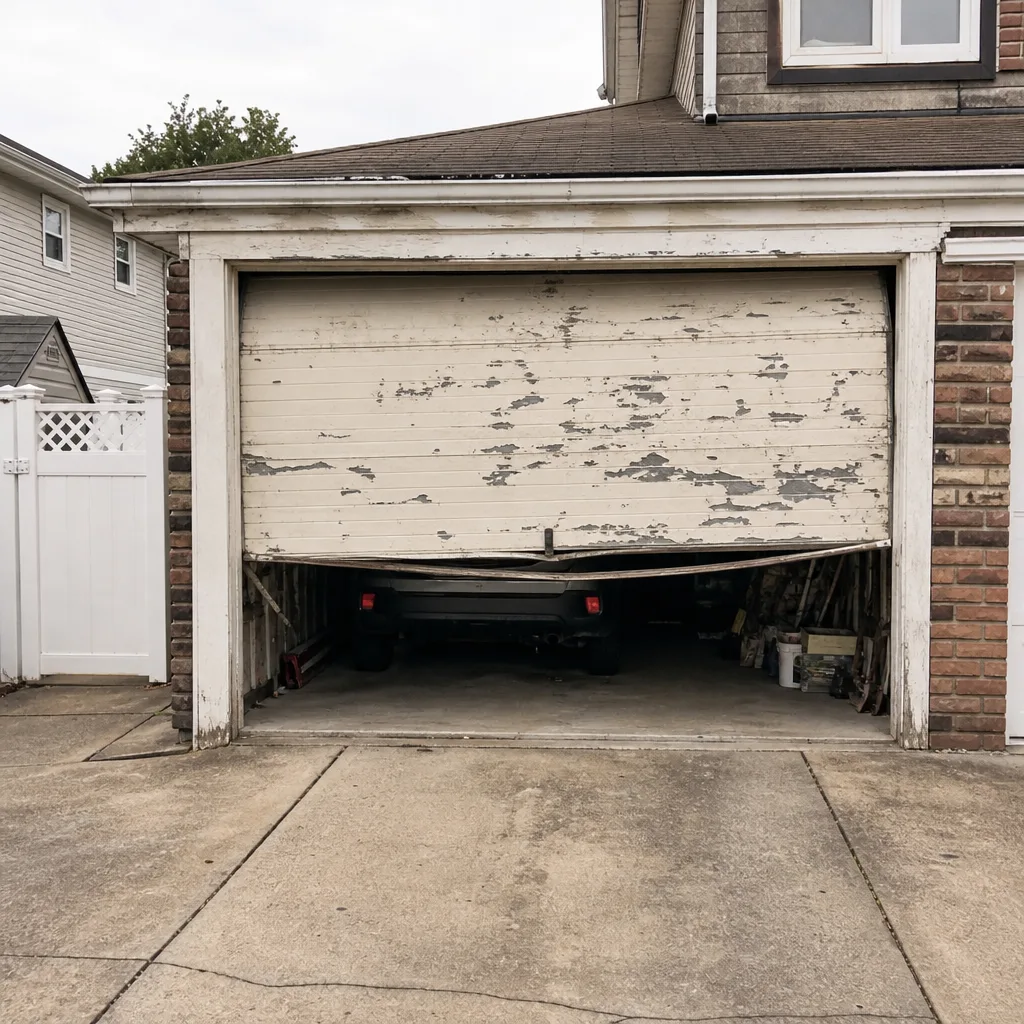
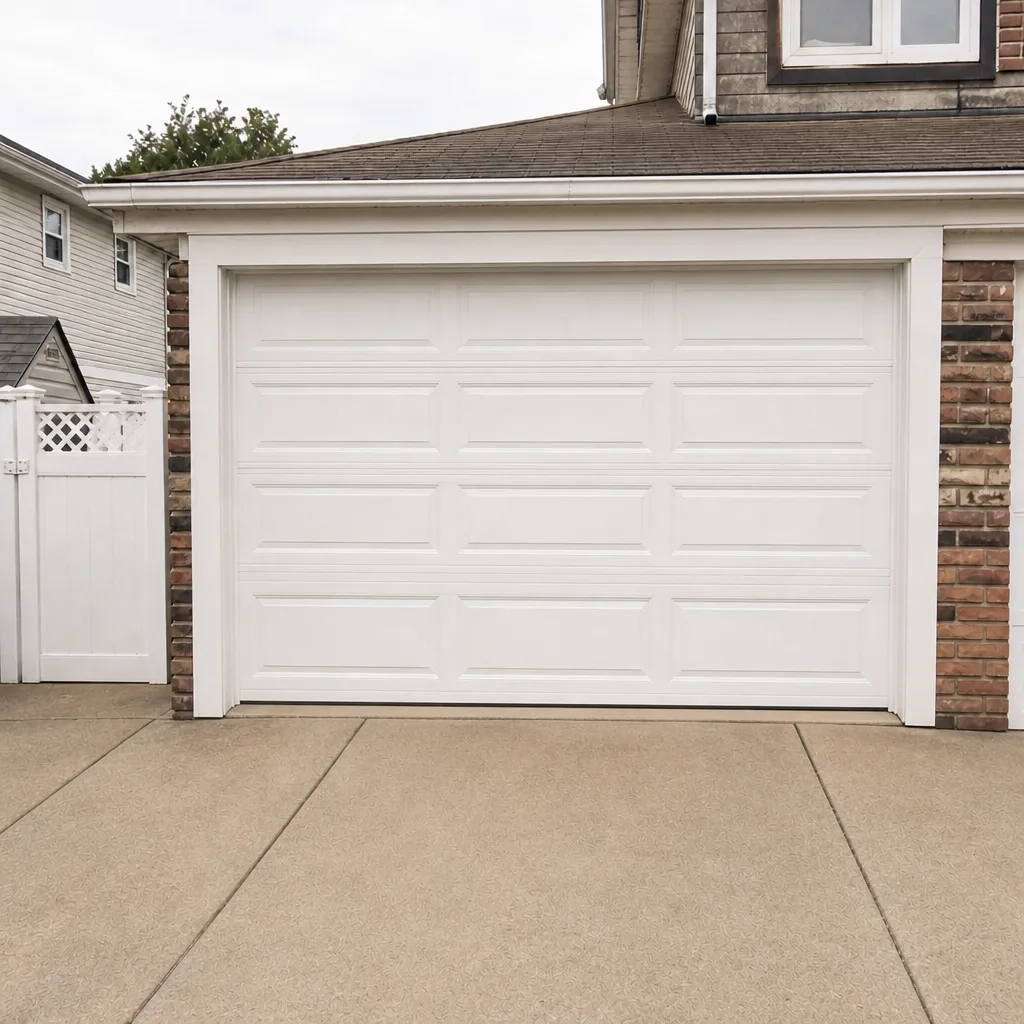
See the difference
 Before
 After
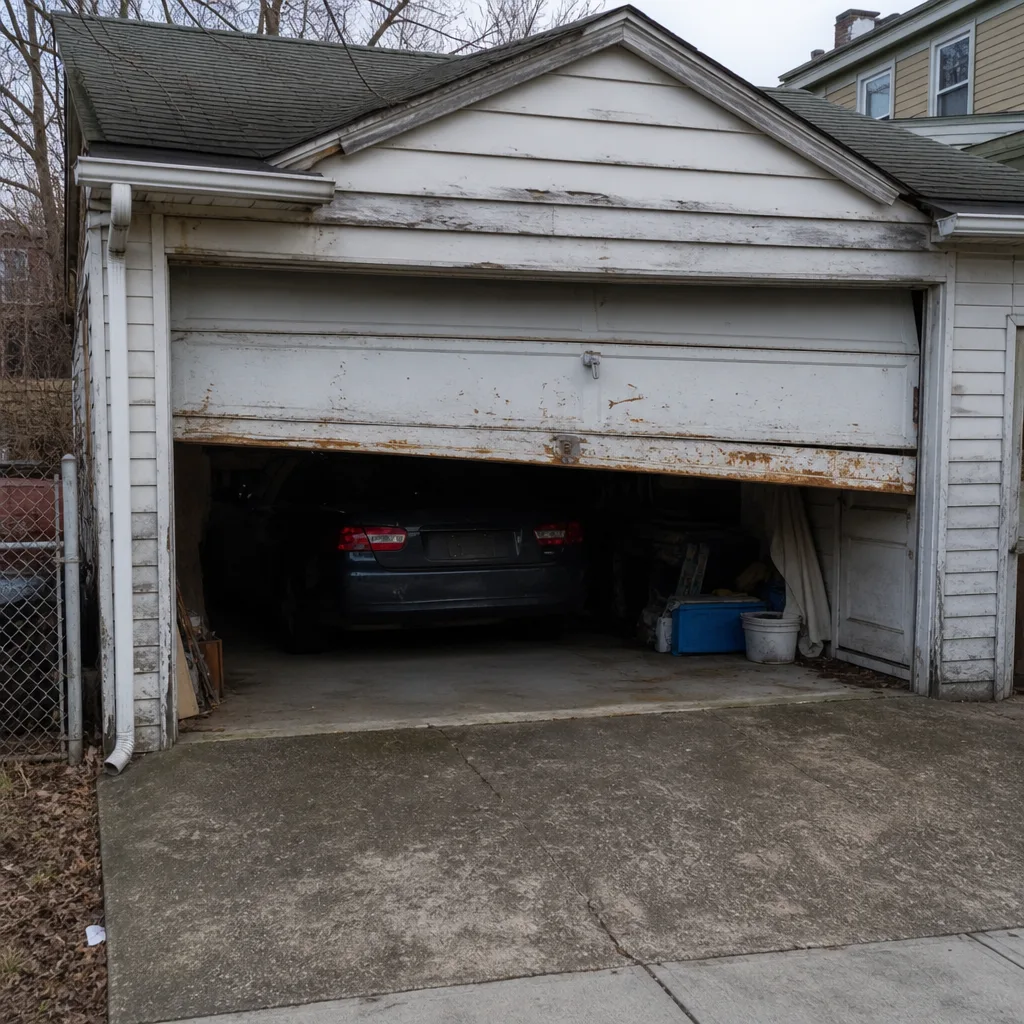 Before
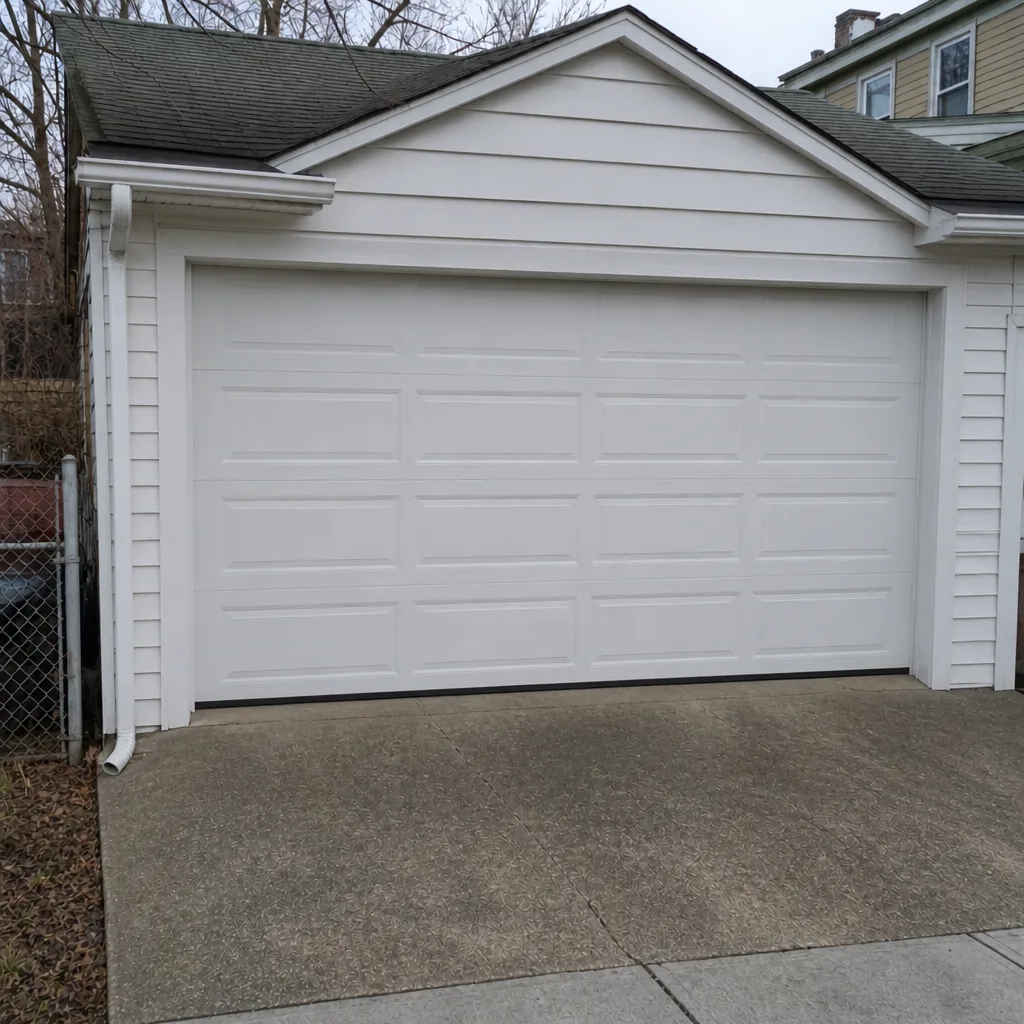 After
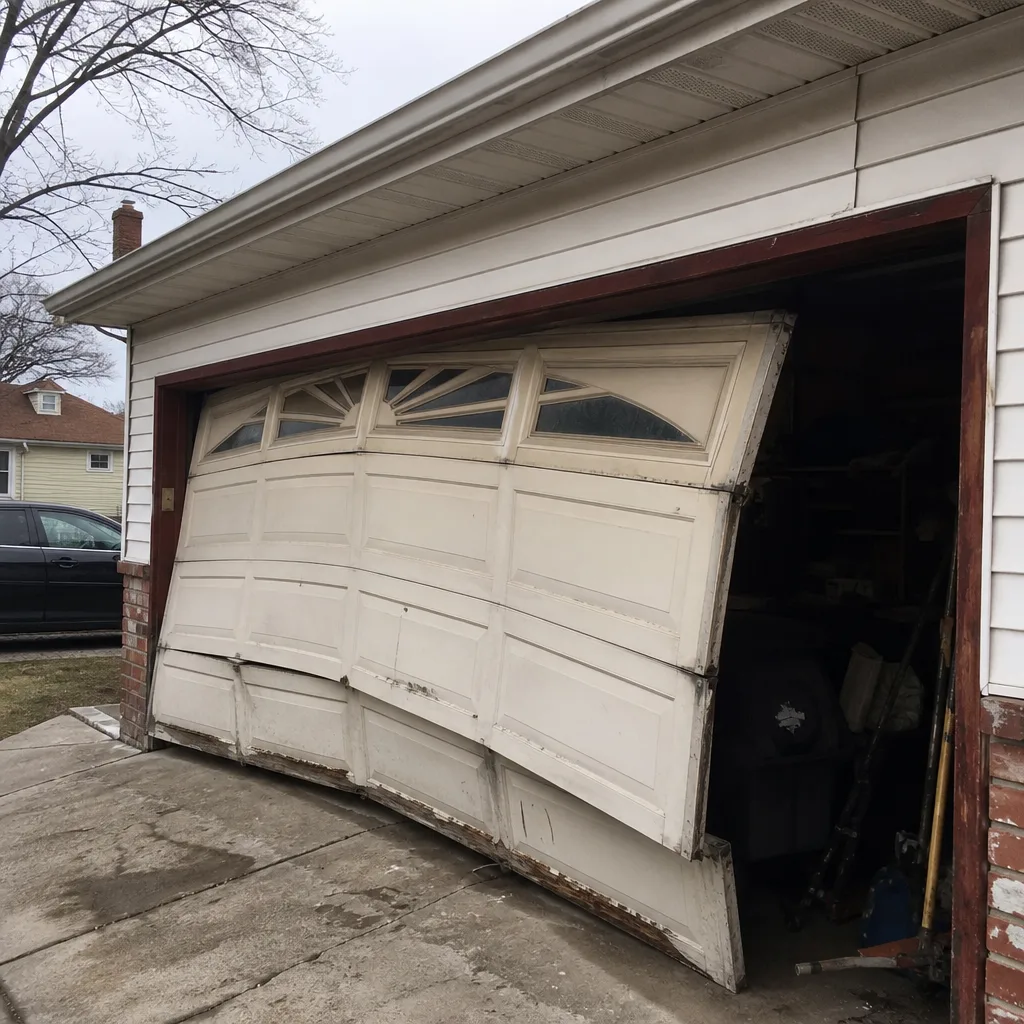 Before
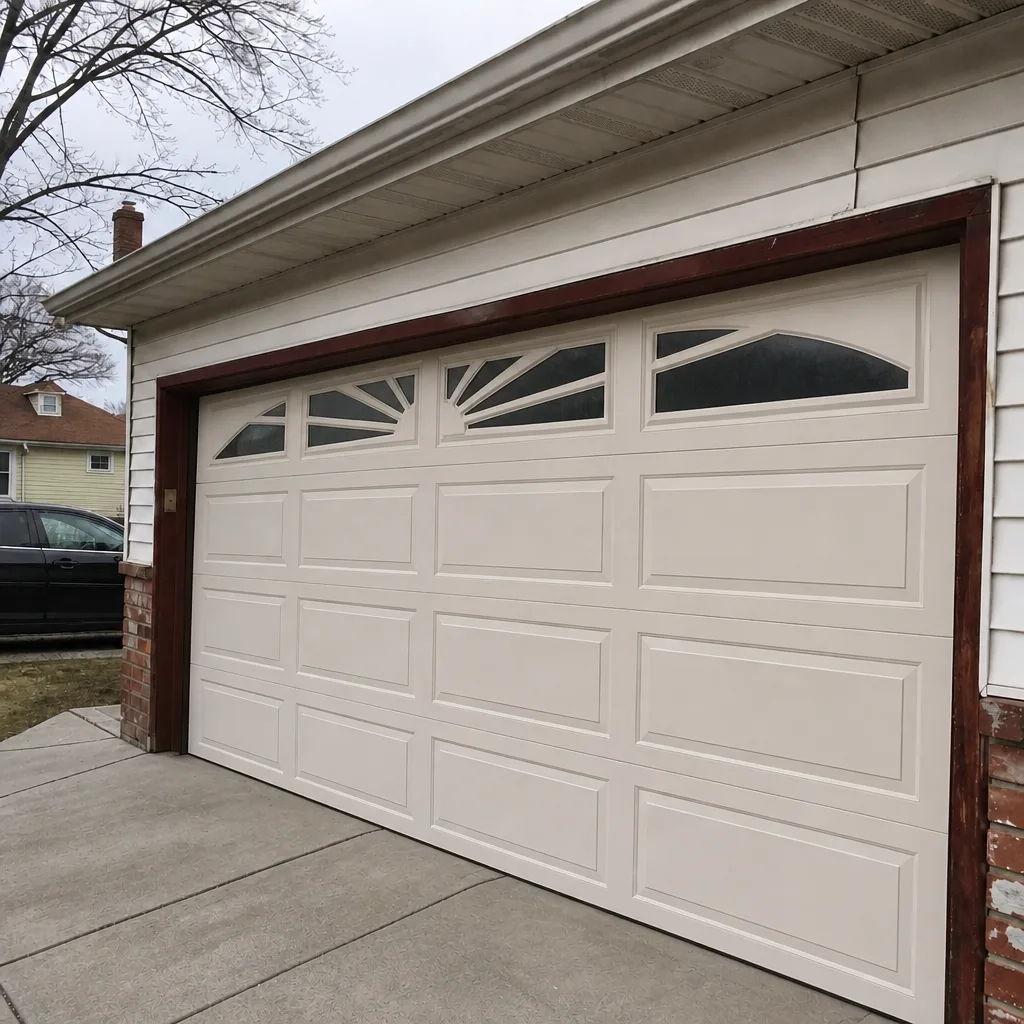 After
When to Call a Professional
Call a professional when the failure involves springs, cables, or anything under tension. Signs it’s time: a loud bang from the garage followed by a door that won’t lift, a visible gap in a spring coil, a frayed or slack cable, a door that drops when released halfway, or an opener that runs but the door doesn’t move. Call for a bent track, a panel that’s come off its hinge, or an opener that reverses for no reason. The rule is simple: if it involves the springs or cables, or the door is unsafe to operate, that’s a technician’s job. Elizabeth Garage Door Repair Co offers free estimates in Elizabeth, and we answer 24/7 with fast dispatch from 7am to 7pm. Call (866) 937-7593.
Frequently Asked Questions
Most Elizabeth homes should have the door professionally serviced every 12 to 24 months, with the interval driven by cycle count rather than the calendar. A door under 2,000 cycles a year can go up to two years between inspections, while a door over 4,000 cycles a year or on a multi-unit property should be looked at twice a year. Call (866) 937-7593 for a free estimate and we’ll help you work out the right schedule.
Humidity drives corrosion on the inside of the spring coils, where moisture settles and stays. That corrosion pits the steel and creates a stress riser, which is where the spring eventually breaks. Consistent lubrication slows the process, which is why skipped lubrication matters so much more than most homeowners expect. Call (866) 937-7593 for a free estimate if your spring is showing rust or a gap.
Yes. Applying a silicone spray or white lithium grease to the visible coils is a safe homeowner task, as long as you never adjust or wind the springs. Use a thin, even coat and wipe off any excess, and don’t use WD-40 or motor oil. For spring diagnosis rather than lubrication, call (866) 937-7593 for a free estimate.
Close the door, pull the emergency release to disconnect the opener, lift the door to about waist height, and let go. A balanced door stays there; one that drops has weak springs and one that rises has them too tight. Never test or adjust the spring tension yourself. Call (866) 937-7593 for a free estimate on any balance or spring issue.
Routine cleaning, lubrication, weather seal replacement and tightening loose hardware almost never affect a warranty. What can is replacing springs with the wrong size, adjusting torsion tension yourself, cutting or modifying tracks or panels, or adding incompatible opener parts. Check the manual for doors from Clopay, Amarr or Wayne Dalton before swapping any hardware. Call (866) 937-7593 if you’re unsure whether a repair will affect coverage.
Yes. Elizabeth summers put moisture against the springs, so a post-summer inspection for surface rust is worth doing. Before the first cold snap, run a full check, because cold thickens lubricants and shrinks seals, which is when marginal doors fail. Call (866) 937-7593 for a free estimate on a seasonal inspection.
The Bottom Line
A maintenance checklist is a diagnostic tool, not a chore list. The order matters, because spring and cable problems are what send most Elizabeth homeowners to emergency repair, and those are the checks to run first. Lubricate with the right product, test balance without touching the springs, know which repairs risk your warranty, and set your service intervals by cycle count rather than by month. Everything else on the list is fast, safe and doable yourself. The few tasks that aren’t belong to a trained technician, and that’s the line that keeps your door working and your household safe. When the door needs more than maintenance, one call covers it all.
Call (866) 937-7593 for a free estimate. We answer 24/7, with fast dispatch from 7am to 7pm, Sunday through Friday. Whether it’s a snapped spring, a full new installation, or a door from Clopay, Amarr, Wayne Dalton or Craftsman that isn’t behaving, Elizabeth Garage Door Repair Co handles it under one call.
Written by the team at Elizabeth Garage Door Repair Co.